
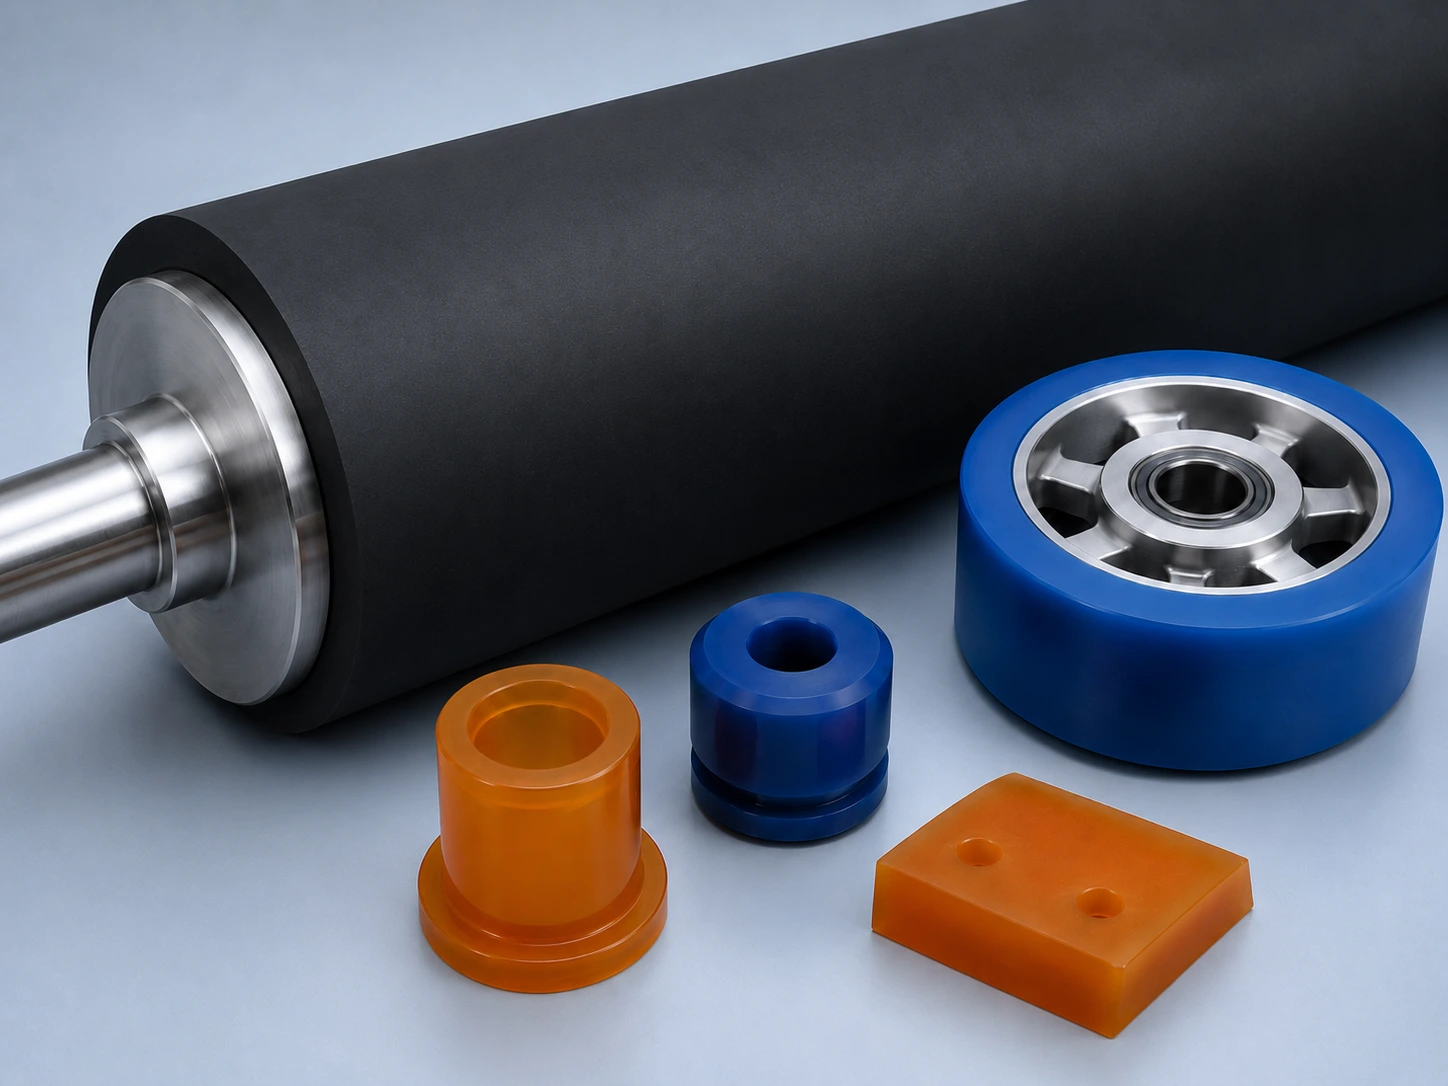
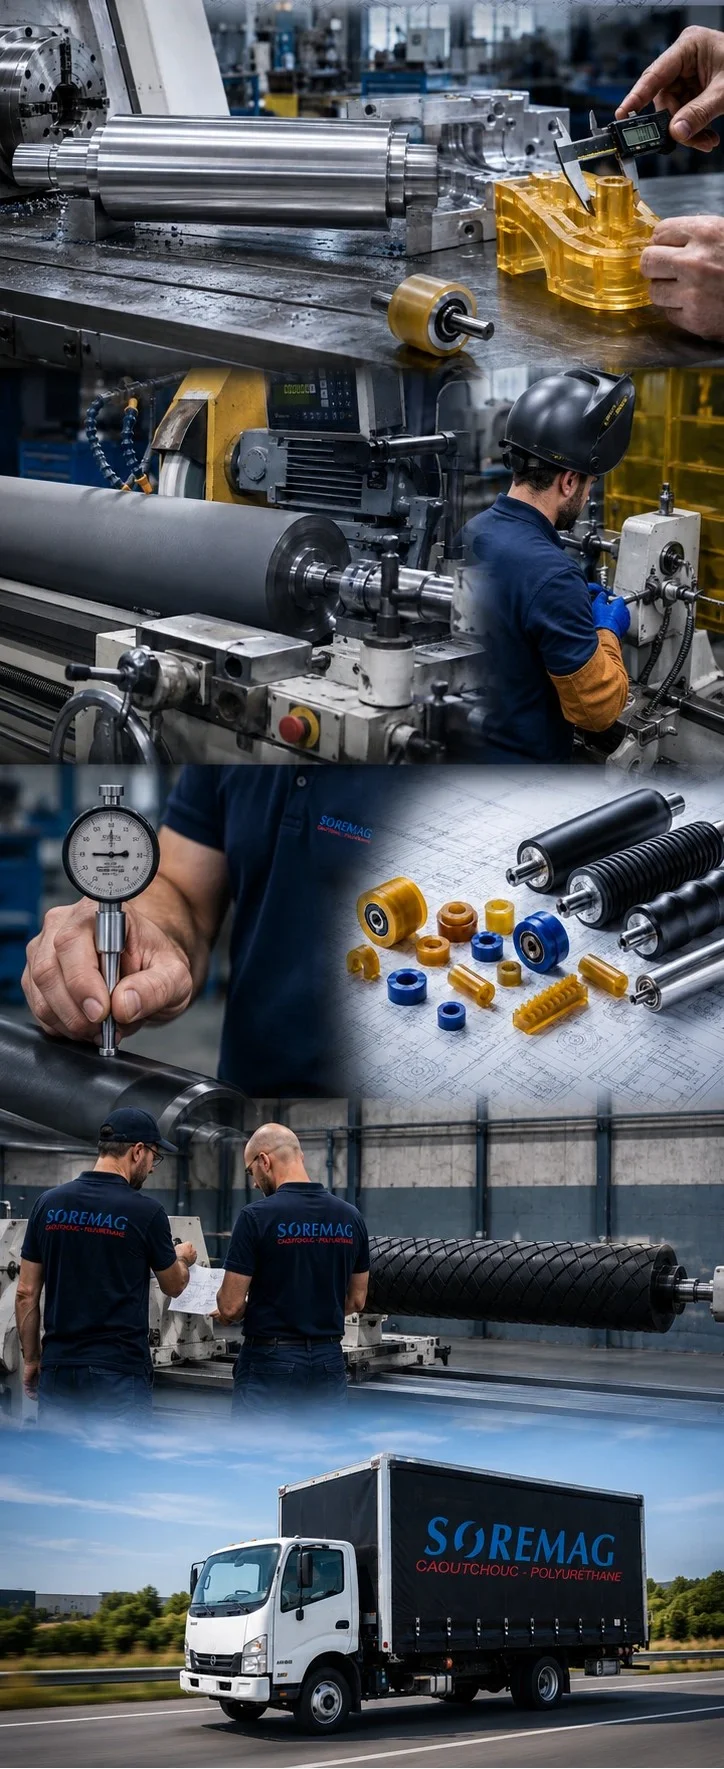
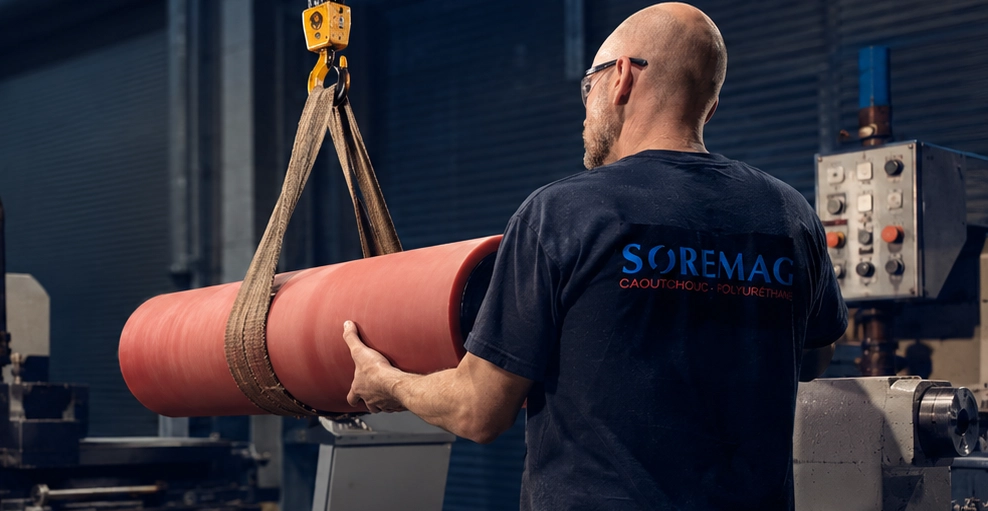
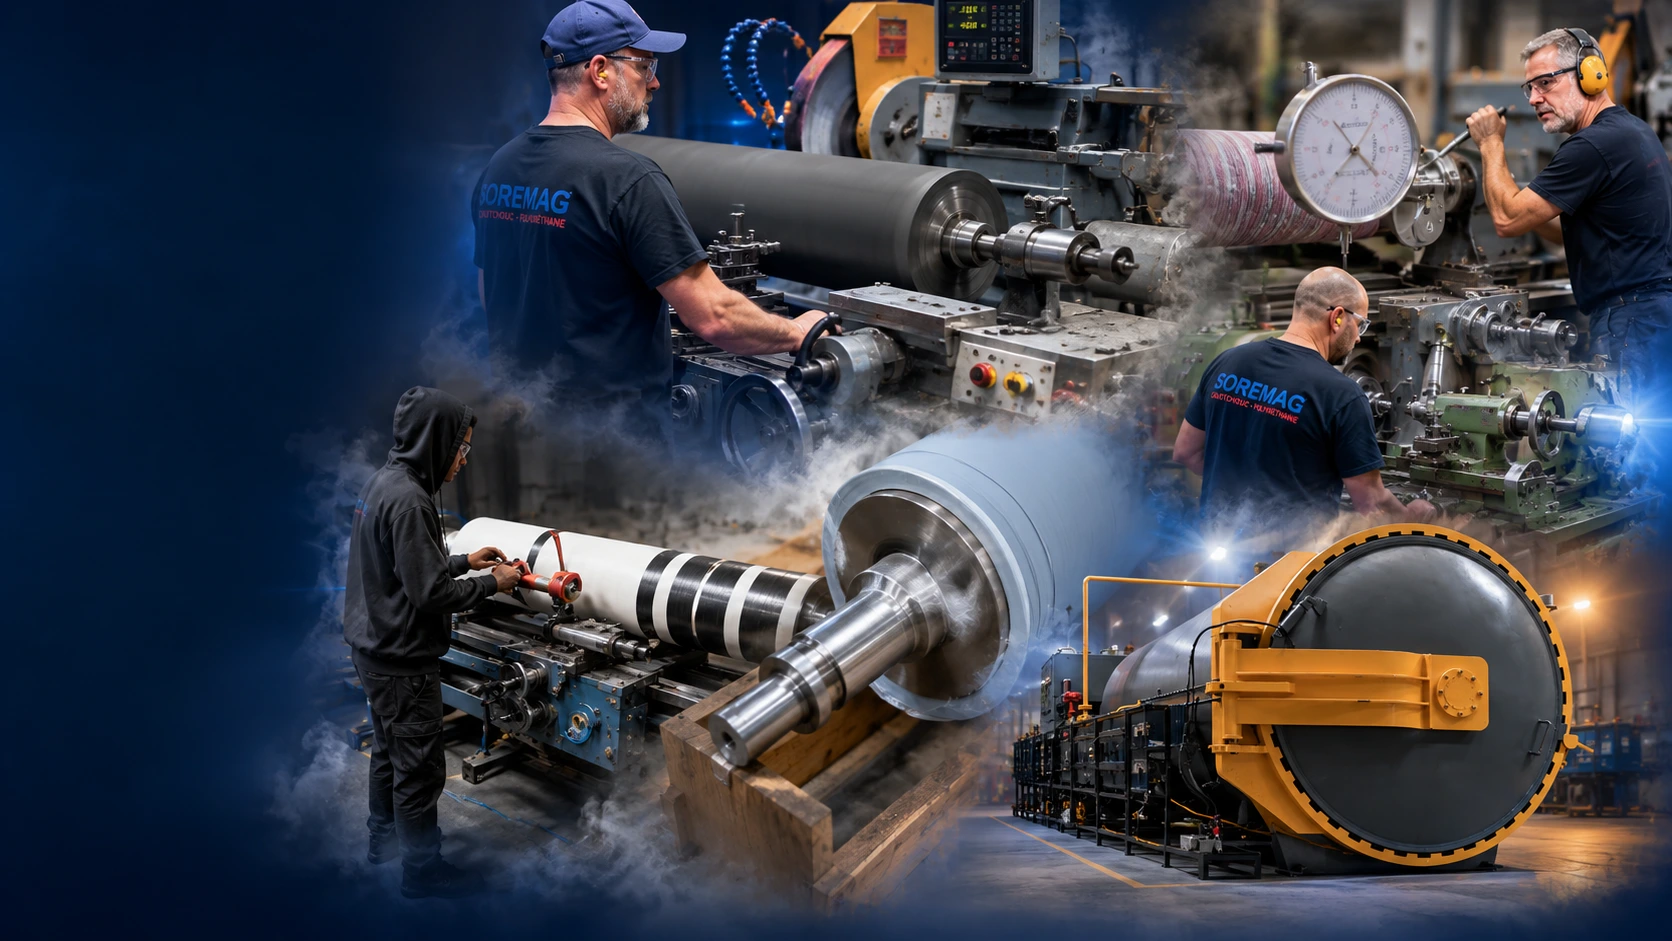
From the outside, a roller looks like an ordinary part: a cylinder, a core, a cover, two journals. It is in fact a precision part. It has to run true, hold a diameter, grip just enough, resist wear and work the material without marking it. So covering a roller is not “strip off the old rubber and put new rubber on”: it is a rigorous, traceable process where each step sets up the next.
Most of this process is common to both materials we work with. But its core — applying the cover and curing it — differs depending on whether it is rubber or polyurethane. Here is the full path, from receiving the roller to delivering it.
1. Receiving and analysis
Understanding the application. Before we touch the roller, we pin down its job: which machine, in contact with which material, at what hardness, and with what wear pattern. We also establish the intent — reproduce a roller that was performing well, or correct one that was causing problems.
Identification and traceability. Every roller gets an identification (customer, work order, dimensions, application) that follows it through every step in the shop.
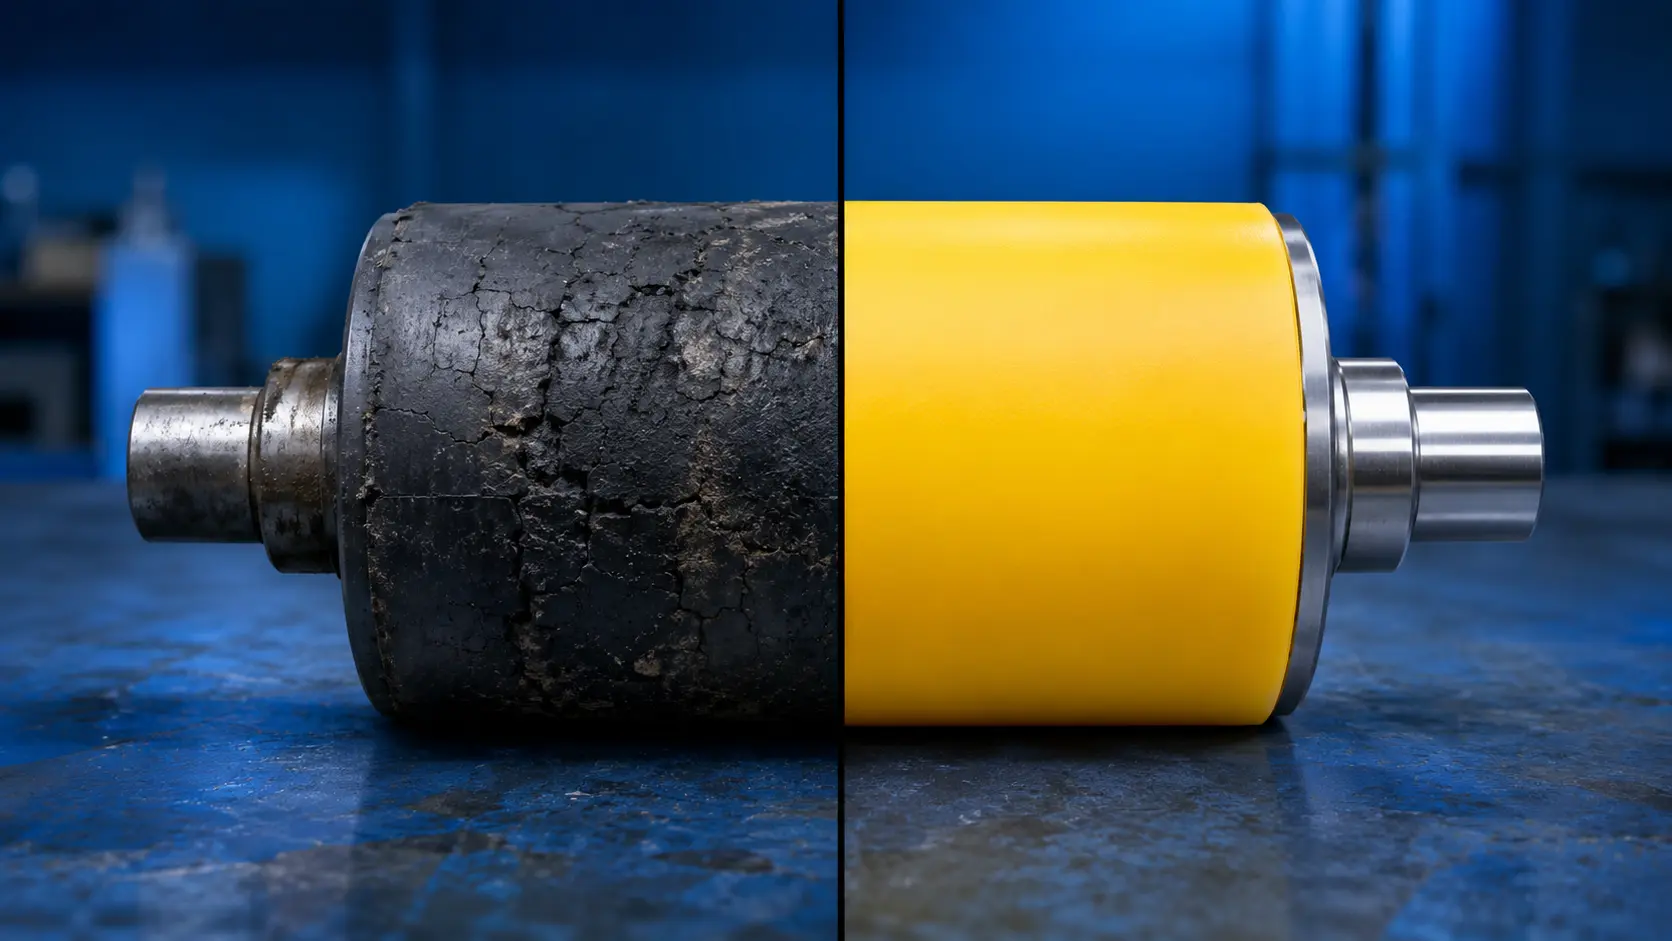
Wear inspection. Wear is not a defect to erase: it is evidence. One side more worn points to a misalignment, a glazed surface to slipping, swelling to chemical attack, debonding to infiltration. Reading those signs correctly is the subject of our Roller and wheel diagnosis.
Dimensional survey. We record the diameter, the face length, the journals, the cover thickness, the groove depth, the hardness and the runout. That survey becomes the reference for the work ahead.
2. Decision: reproduce or optimize
If the roller was performing well, we carry over the recipe that was proving itself. If it caused problems, we use the covering to adjust the material, the hardness, the finish or the grooving. Recovering a roller is not a simple refurbishment: it is a chance to optimize a part with the benefit of how it actually behaved. The choice of material and hardness draws on our Material Selection Guide.
3. Stripping and core preparation
Stripping. We remove the old cover without damaging the core. This is often when the real cause of a past debond shows up: corrosion underneath, a poorly bonded area or an old repair.
Core inspection. The best cover will never make up for a failing core. We check the corrosion, the cracks, the welds, the condition of the journals and the concentricity.
Repair if required. Worn journals and seating surfaces are corrected before anything is applied: covering a problem core would only postpone the defect.
Surface preparation. Cleaning, degreasing, grit blasting or controlled abrasion, masking: this is the step you cannot see once the roller is finished, and yet it is the one that decides the bond. A poorly prepared surface leads to premature debonding, no matter how good the material is.
Bonding system. A primer or bonding agent matched to the material chosen is applied with discipline — clean surfaces, mix ratios and dwell times respected. It is the mechanical link that will hold the cover under load.
4. The heart of the process: rubber or polyurethane
This is where the two materials take different paths.
CRRubber
Application. The uncured compound is built onto the prepared core — either as a calendered sheet wrapped under pressure or by direct extrusion — with the thickness and the uniformity controlled over the full length.
Autoclave vulcanization. Under controlled heat and pressure, the rubber vulcanizes and develops its final properties: hardness, elasticity, bond and stability.
A cover solidly bonded to the metal body, ready to be brought to its final geometry.
PUPolyurethane
Hot casting. The liquid polyurethane, with controlled metering and mixing, is hot cast around the prepared core — often in a mold — to obtain a homogeneous, dense material.
Curing and post-cure. The polyurethane cures and reaches its properties: abrasion and cut resistance, load capacity. The part is then removed from the mold.
A dense, stable cover, ready for precision finishing.
In both cases, we do not rush the steps: a material that has not reached its final properties finishes badly and performs badly. Even in an emergency, the cure and the hardening are respected.
5. Precision finishing
Rough grinding. The cover is brought close to its final diameter, leaving the stock needed for the finish pass.
Precision grinding. We establish the diameter, the roundness, the cylindricity, the concentricity, the profile and, if needed, the crown. This is a performance step, not a cosmetic one: a badly ground roller vibrates, marks or slips, even with an excellent cover. This step is covered in detail in our article on precision grinding.
Surface finish. Smooth, polished or textured depending on the job of the roller: grip for traction, even transfer for an applicator roller, consistency for pressure. The material gives the properties; the finish gives the actual behavior.
Grooving if required. Straight, spiral, crossed or herringbone grooves — depth, angle and spacing are set by the application, never by habit.
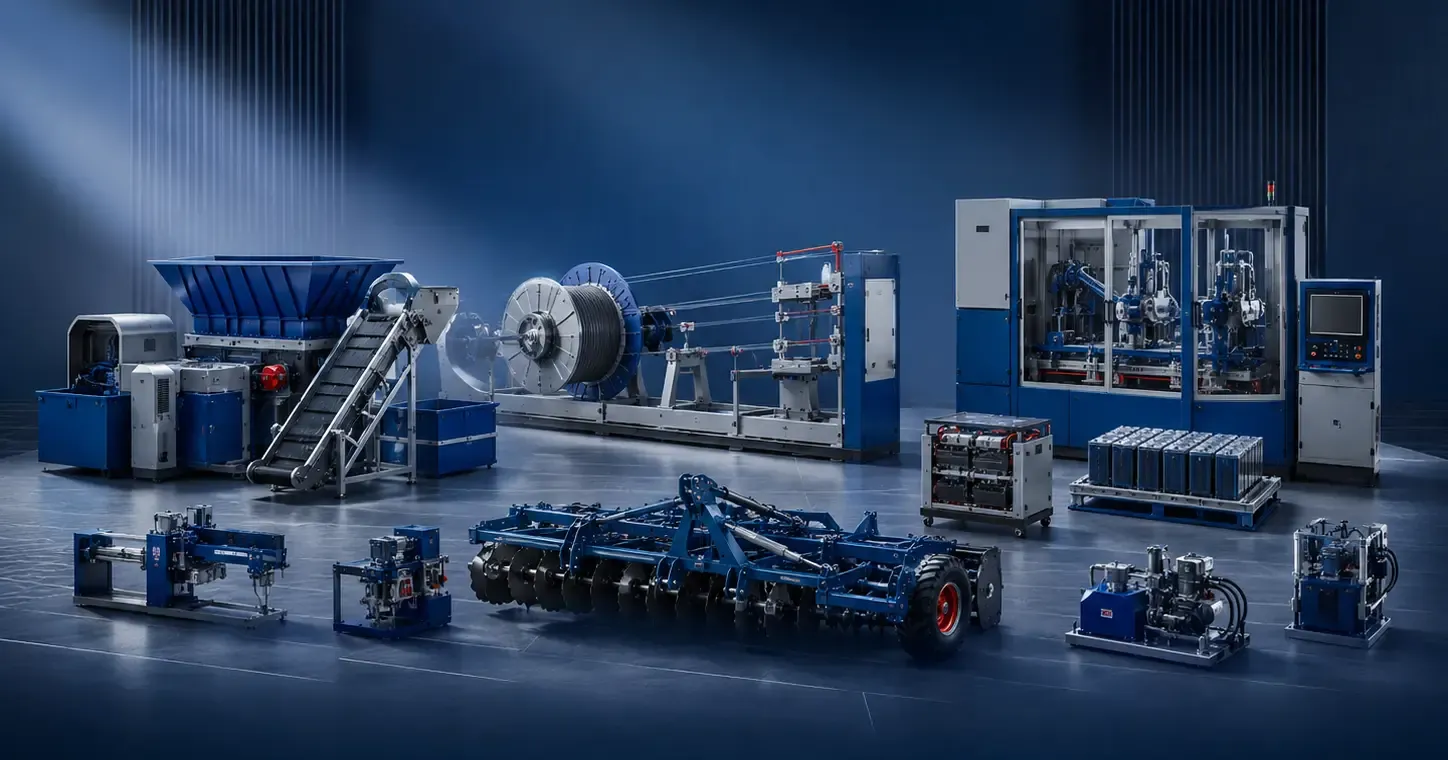
This finishing work runs on specialized, automated equipment linked in real time through a server, following an Industry 4.0 approach — which is what keeps repeatability consistent from one roller to the next.
6. Inspection, protection and delivery
Quality control. Diameter, face length, finish, hardness, grooves, journals, concentricity and conformity to the order are all checked: it is the last barrier between the shop and your machine.
Protection and packaging. The surface, the journals and the ends are protected so the roller arrives in the condition it left the shop in.
Delivery and follow-up. Pickup and transport suited to a heavy part with a delicate surface. After installation, tracking performance lets us refine the covers that follow.
Why the process adapts to every roller
A pull roller, an applicator roller, a nip roller, a wheel and a stretch roller do not have the same requirements. Depending on the application, we adjust the material, the hardness, the thickness, the bonding system, the finish, the grooving, the crown and the tolerances. That is what separates a controlled roll covering from a simple replacement — see also our page roller covering.
Example: a pull roller that slips
A roller comes in shiny and glazed, the wear uneven, the diameter reduced. The easy answer would be to reproduce it exactly. But the analysis asks the right questions: was the finish too smooth, the hardness wrong, the material poorly chosen, the grooving insufficient? Depending on the case, the answer is a different finish, another hardness or revised grooving. The right decision comes from the analysis, not from habit.
A roller to recover or refurbish? Talk to our team.
FAQ
What is a roll covering?
Stripping the old cover, preparing the core, applying the new material, then grinding and finishing the roller to the dimensions and the application.
Is the process the same for rubber and polyurethane?
The analysis, preparation and finishing steps are common to both. The core of the job differs: rubber is built onto the core and then vulcanized in an autoclave; polyurethane is hot cast, then cured and removed from the mold.
Can every roller be covered?
Generally yes, if the core is sound or repairable. If it is too damaged or corroded, a closer analysis is needed.
Do you have to use the same material again?
No. If the roller was performing well, we can carry over the same recipe; if it was causing problems, we revisit the material, the hardness or the finish.
Why grind after covering?
To get the exact diameter, roundness, concentricity and finish — a performance step, not a cosmetic one.
What is grooving for?
To provide traction, to vent air or drain liquids and to control the contact between the roller and the material being worked.
Can Soremag help in an emergency?
Yes: for a critical roller, we prioritize the analysis, the logistics and the work according to the situation.
